How to paint Games Workshop miniatures? In this tutorial, we will show you a number of painting techniques for decorating your Citadel miniatures. In this new guide we will see which steps to follow to paint your Easterlings models!
Welcome back to Painting workshop by techigames! After the previous tutorial on Uruk-hai, which you can view on this page, we are back with a new guide in which we will see how to paint your own models of Easterling, with very simple techniques using i Citadel colors and therefore be able to expand your collection of miniatures Games Workshop to undertake the Strategic Battle Game in Middle-earth.
We remind you that the miniatures, the colors and all the tools for modeling are available on the website www.games-workshop.com.
Tutorial 39: Easterling - How to paint Games Workshop (Citadel) miniatures
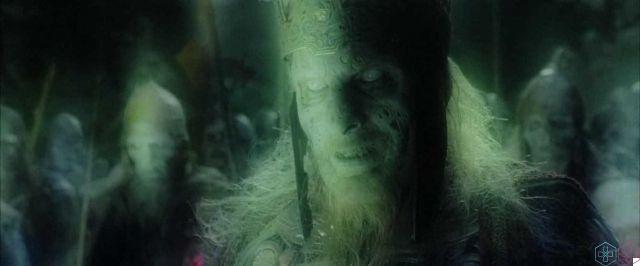
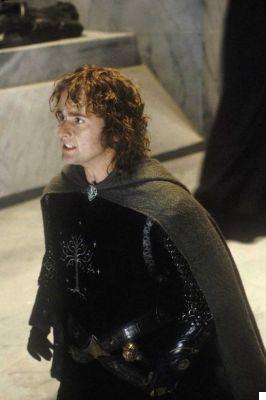
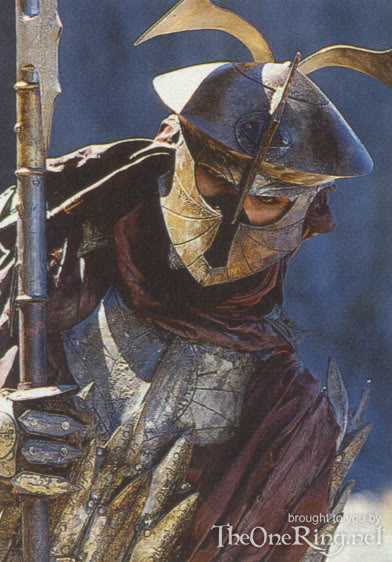
- Easterling they are warriors of Middle-earth from Rhûn, east beyond the borders of Mordor. These are quite skilled soldiers, equipped with exotic armor, who come to Mordor to answer Sauron's call during the Third Age. Frodo and Sam, having reached the Black Gate on their journey to Mount Doom, encounter a group of Easterlings but manage to hide thanks to the elven cloaks given to them by Galadriel.

to know more on Easterlings we refer you to the Wikipedia page.
To know the different basic painting techniques, which are essential for all Games Workshop miniatures, we recommend that you visit this page.
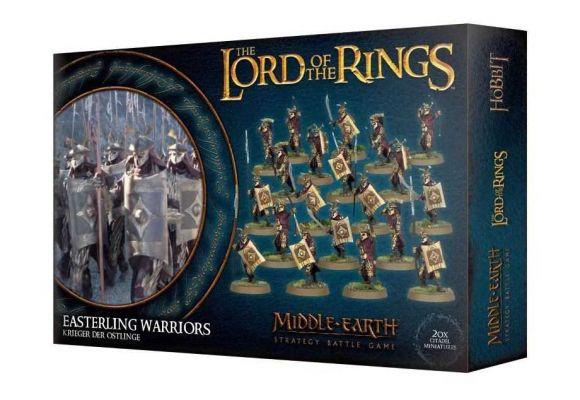
Box Games Workshop con 20 Easterling
Phase 1: cleaning and assembling the Easterlings | How to paint Games Workshop (Citadel) miniatures
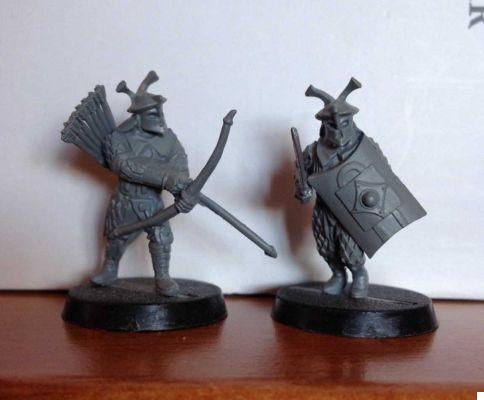
As in the previous tutorial, the first thing to do before starting to paint your plastic Easterlings miniatures is to gently remove them from the frame with common wire cutters, being careful not to cut their weapons. Also remove the heads, shields and weapons from the mold, then assemble the models correctly with plastic glue. Once this is done, use a utility knife to remove any excess burrs that remain after the blending process. Once this is complete, mount your miniatures onto their bases using some plastic glue, available on the Games Workshop website or in any DIY store.
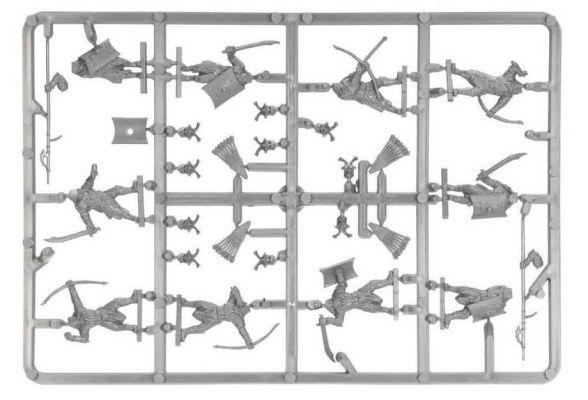
Sprue with 10 Easterling warriors
Phase 2: base color of the Easterlings | How to paint Games Workshop (Citadel) miniatures
Once you have assembled the models of your Easterlings, you will need to give a background of color to have a base color to work on and to adhere well the shades that you will apply in the next steps. Always remember that the important thing is to evenly cover the material your miniatures are made of. To get a homogeneous layer of color use the Citadel Chaos Black spray, as the Uruk-hai are characterized by rather dark shades. Be very careful when using the spray and be sure to apply this technique in well-ventilated areas.
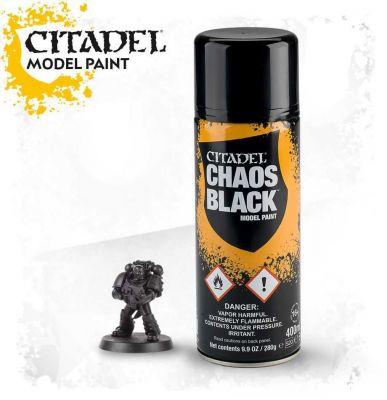
Spray Citadel Chaos Black
Practical tip: to ensure that the color reaches even the most hidden areas, fix all the models close to each other on a sheet of cardboard with repositionable glue or double-sided tape, to be able to remove them easily after having painted them; while using the black spray, rotate the cardboard, so as to apply a uniform color base on all the miniatures.
Alternative: if you don't have Chaos Black spray available, use Citadel Abaddon Black in a bottle; shake the jar well to mix the color correctly, then use the brush to put a drop on the palette and add a little water to dilute it slightly, as too thick a color would be difficult to apply and ruin your miniatures, covering the details . If the color is too liquid, add a little more to thicken it.
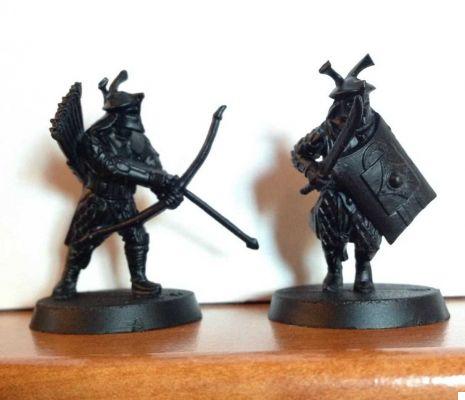
Easterling after the black primer
Now you can start painting the details of your Easterlings and we recommend the serial painting technique, used with Goblins, Uruk-hai, horses and Rohan warriors: compared to single characters, such as heroes, here you have a group of similar models, so you can perform each phase on all Citadel models, then move on to the next one. This way you will work all the warriors in parallel and complete them all together.
Step 3: Paint the Easterlings' armor | How to paint Games Workshop (Citadel) miniatures
Easterlings wear bronze armor and, as in the case of the reaction between iron and oxygen with which rust is formed, it is a metal that reacts with the atmosphere, which is why the recesses take on a verdigris aspect: to obtain therefore a realistic effect, start painting the armor evenly with Alaitoc Blue, then do a light wash with Agrax Earthshade. At this point, dry brush first the Brass Scorpion, then the Auric Armor Gold. Perform the final highlights with Runefang Steel, again with the dry brush technique using very light touches.
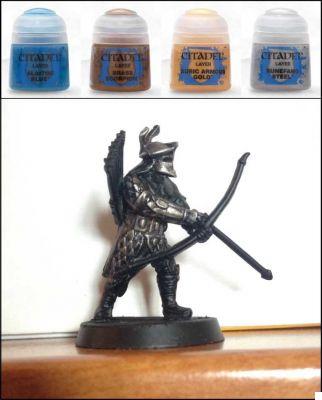
Citadel colors suggested for Easterlings armor
In addition, some Easterlings are equipped with a shield: to paint it you can repeat the same operations described above, plus use Warplock Bronze for the four dark areas of the square, shade with Nuln Oil and finally highlight the edges with the Brass Scorpion.
Step 4: Paint the Easterlings' robes | How to paint Games Workshop (Citadel) miniatures
To paint the Easterling uniform red, apply Khorne Red to the affected areas, then shade the model grooves with Agrax Earthshade ink. Once this is done, apply a series of lighter and lighter highlights by mixing Khorne Red with an increasing amount of Baneblade Brown. To give a touch of class, you can decorate the top hem of the red dress with a gold pattern, using a fine-tipped brush.
To decorate the black garments, i.e. pants and waistbands, apply Abaddon Black and then highlight the bumps with a mix of black and Mechanicus Standard Gray. Lighten everything until you get the desired effect and remember that you can progressively add lighter shades of gray.
For boots and leather gloves use Rhinox Hide as a base, shade with Nuln Oil and finally highlight with Gorthor Brown and Baneblade Brown.
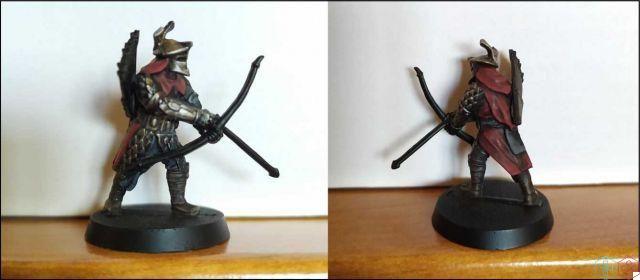
Easterling at the end of phase 4
Step 5: Paint the Easterlings Weapons | How to paint Games Workshop (Citadel) miniatures
Paint all the metal parts of the weapons with the Leadbelcher. Then do a black wash with Nuln Oil and then lighten each blade with Runefang Steel using the ruling technique to make it appear sharp.
For the wooden parts, such as bows, arrows and spears, you can apply the Dryad Bark entirely, then blend it towards a lighter shade using Gorthor Brown and then Baneblade Brown with the ruling technique on the most exposed parts. The fletching should be drybrushed with Dawnstone on a black base.
To paint the quiver you can continue to use shades on brown, then use Rhinox Hide as a base and, after shading, highlight with Gorthor Brown.
Another optional but high-level detail is certainly to decorate the eyes under the helmet: carefully spread a thin strip of White Scar on the affected area, then add two dots for the eyes and if you can even a little Cadian Fleshtone for the overlying skin.

Easterling warrior with decorated weapons
Step 6: Decorate the Easterlings' sideburns | How to paint Games Workshop (Citadel) miniatures
The last step to complete your Easterlings models is to decorate the sideburns: to do this, you can paint them evenly with Mournfang Brown and then apply a small amount of static grass or modeling flock with the vinyl glue, with the aim to recreate a turf. If you prefer, add some crushed stone for a classy effect.
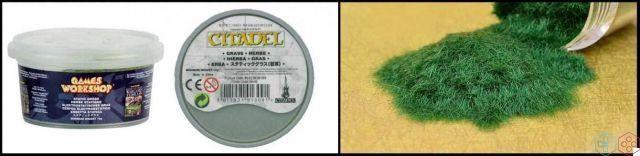
Static modeling grass
Practical tip: to apply the static grass or flock, first spread the glue on the upper part of the base, then immerse it in a jar containing the grass, so that it adheres perfectly.
Alternatively you can apply a Citadel Texture such as Stirland Mud or Astrogranite to create a rocky brown or gray effect. Whichever you choose, paint the edges of the base with XV-88 or Mechanicus Standard Gray accordingly. When the Texture is dry, gently drybrush a lighter color to highlight, such as Terminatus Stone (Dry) in the first case or Slaneesh Gray (Dry) in the second. Finally, to complete you can add the Clods of Mordheim or Middenland, available on the website, in order to enrich the base with tufts of grass to remember, for example, the Wild Lands.
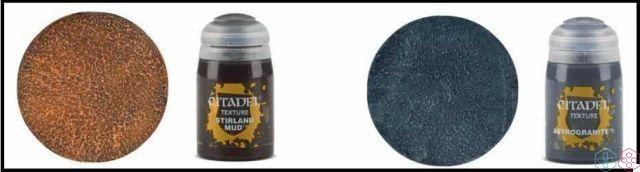
Citadel Texture Stirland Mud e Astrogranite
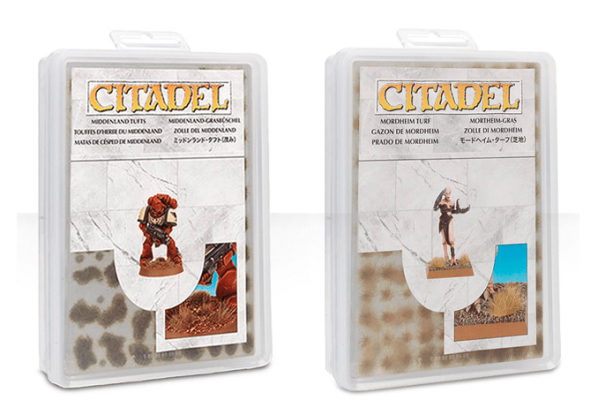
Clods of Middenland and Mordheim
Once this is complete, your Easterling warriors are ready to faithfully serve Sauron!
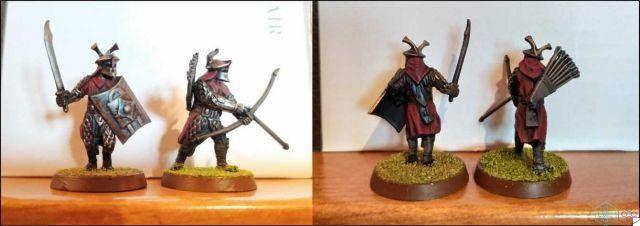
The Easterlings miniatures are complete!
How to paint Games Workshop (Citadel) miniatures - Tutorial 39: Easterling
Also this guide of the Techigames Painting Workshop dedicated to the decoration of Games Workshop miniatures (eg Warhammer or Lord of the Rings) ends here. For any questions or requests we are available via the comments box below!
The Triplets Sunday May 19 with a new tutorial!